Posted on

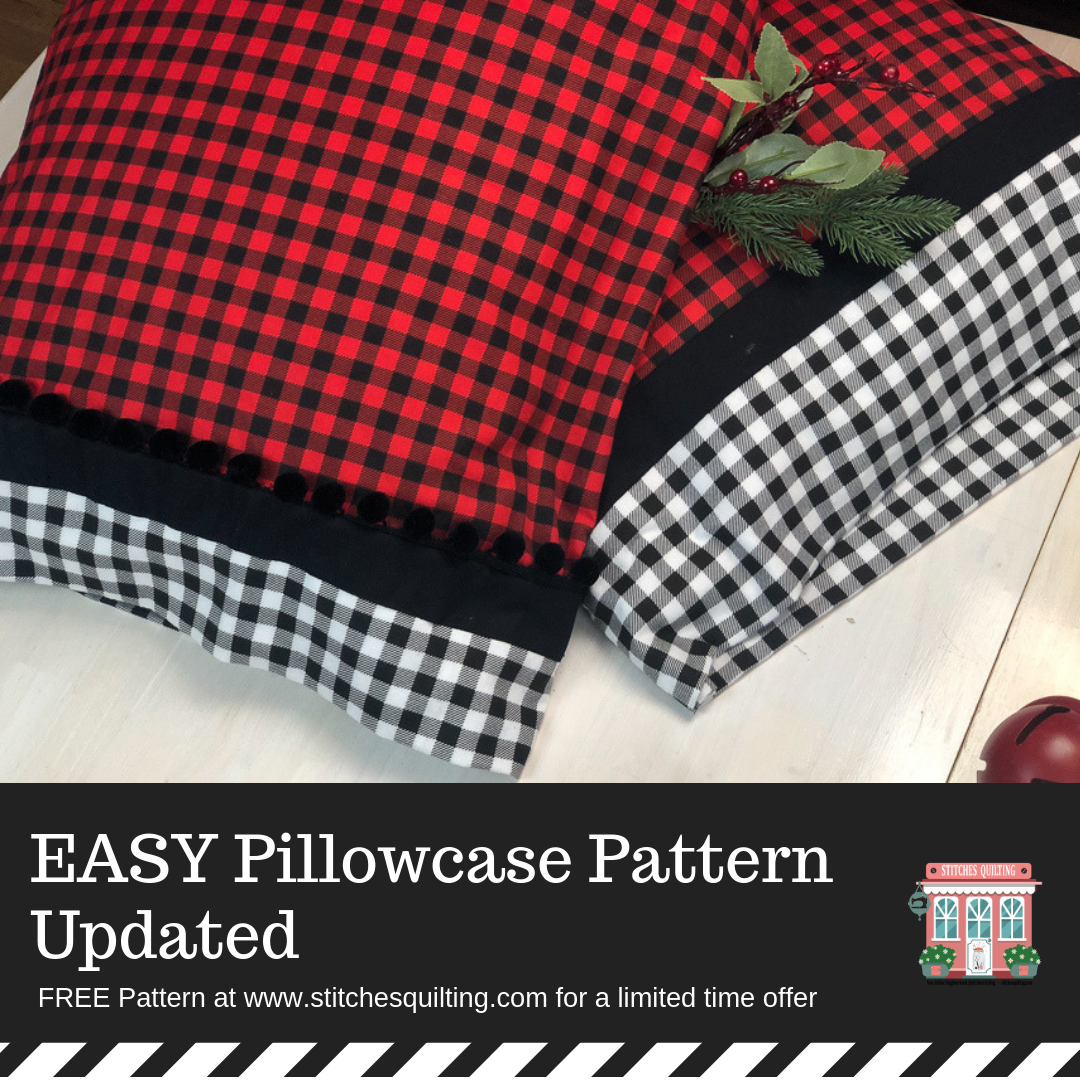
Easy Pillowcase Tutorial & Pattern UPDATED

Easy Pillowcase Pattern Tutorial Updaed

Easy Pillowcase Tutorial & Pattern UPDATED

Easy Pillowcase Pattern - Cover Page 1

Cut Your Fabrics

Easy Pillowcase Pattern & Tutorial - Cut Your Fabric Page 2

Press Your Fabric

Easy Pillowcase Pattern & Tutorial - Press your Fabric then Layer Page 3

Layer your Easy Pillowcase in a PBJ then stitch it as a burrito!

Easy Pillowcase Pattern & Tutorial - Stitch down the raw edges

Pull your excess Pillowcase fabric from you burrito.

Easy Pillowcase Pattern & Tutorial - Pull Loose Fabric from Burrito, Press and TRIM Page 5

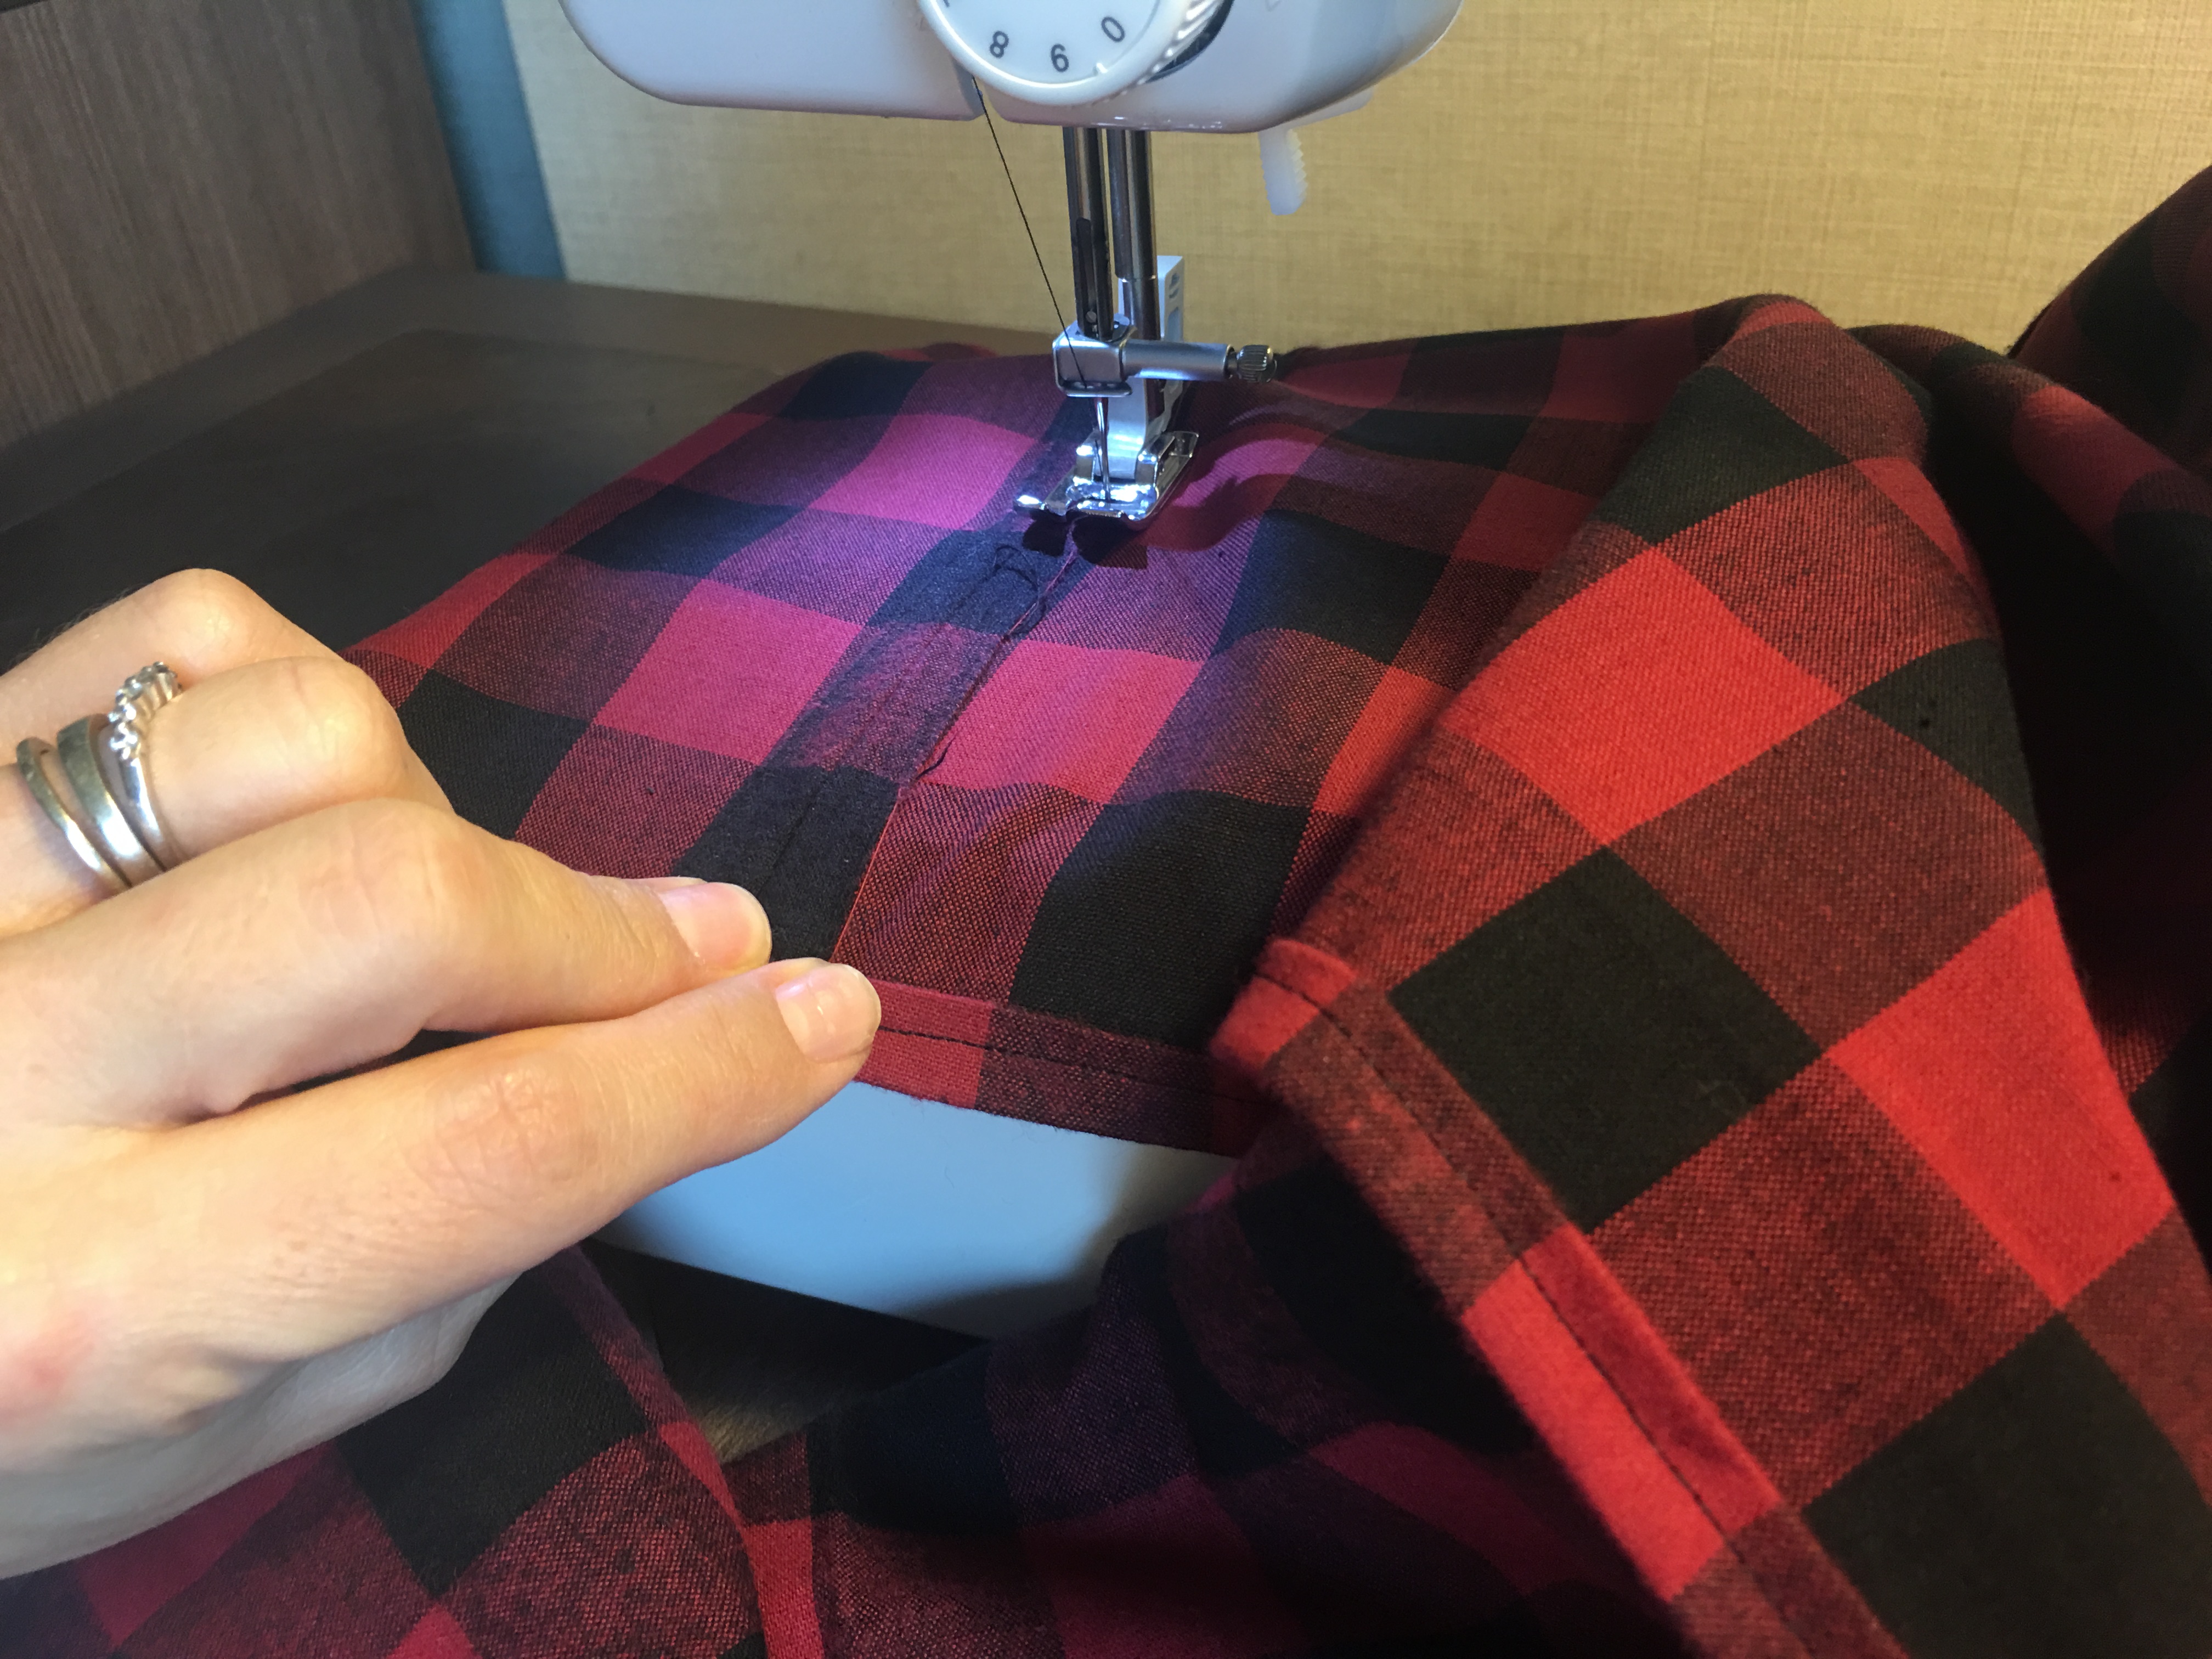
Stitch around your pillowcase with wrong sides together to make your French Seam.

Easy Pillowcase Pattern & Tutorial - Pin & Stitch around Pillowcase Wrong Sides Facing Each Other Page 6

Carefully press your pillowcase again for your final stitch!

Easy Pillowcase Pattern & Tutorial - Press & Stitch with right sides of fabric facing each other for a French Seam Page 7


Enjoy your PILLOWCASE!

Easy Pillowcase Pattern & Tutorial - Press & Stitch with right sides of fabric facing each other for a French Seam Page 8


Coming Fall 2018 - EasyPressâ„¢ 2, Raspberry - 6 

Deanna Wall Stitches Quilting Stitching Through LifeDeanna Wall Stitches Quilting TutorialsStitches Quilting Online Neighborhood Quilt Store & Blog

Posted on

EASY No Binding Quilted Cookie Sheet Hot Pad

EASY NO BINDING Quilted Cookie Sheet Hot Pad ICON

EASY No Binding Quilted Cookie Sheet Hot Pad

Cut your fabric for your EASY No Binding Quilted Cookie Sheet Hot Pad.  There are two different hot pad size to select from.  There is a Wide Short Version or a Thin Long Version.  It is up to YOU!  Doesn’t it feel good to have possibilities?

Make the Handles for your EASY No Binding Quilted Cookie Sheet Hot Pad

Easy No Binding 3 Quilted Cookie Sheet Handles

Quilt the handles of your EASY no binding Cookie Sheet Hot Pad

Page 4 Add Batting and Quilt Handles

Layer then Quilt the Base of your Easy No Binding Cookie Sheet Hot Pad

Easy No Binding 5 Quilted Cookie Sheet How to Layer Main

Position and Layer your handles to the quilted base of your EASY Quilted Cookie Sheet Hot Pad.

Easy No Binding 6 Quilted Cookie Sheet Layer to Sew

LEAVE a three inch opening as you stitch around the edges of your EASY no binding method quilted cookie sheet Hot Pad.Page 7 Leave a 3 inch Opening

Turn inside out through your 3 inch opening your EASY no binding Quilted Cookie Sheet Hot Pad

Page 8 Turn Inside OUt

Stitch a finishing stitch along the sides.

Easy No Binding 9 Quilted Cookie Sheet More Information

Deanna Wall Stitches Quilting Stitching Through LifeDeanna Wall Stitches Quilting TutorialsStitches Quilting Online Neighborhood Quilt Store & Blog

Posted on

Easy Modern Half Square Triangle Quilt

Free Pattern for Easy Modern Half Square Triangle Quilting Bee Basics Fabric Lori Holt Bee In My Bonnet Riley Blake Fabrics

Easy Modern Half Square Triangle Quilt

Easy Modern Half Square Triangle Quilt for a beginning quilter to learn basic quilting techniques.  The Easy Modern Half Square Triangle Quilt is perfect for the experienced quilter wanting to make something colorful, modern & fast while featuring favorite fabrics.  When seeing this quilt, on Riley Blake Designs Blog post by Julia Frazier, I knew it was the perfect quilt to teach a basic week long start to finish beginning quilting course!  So here we GO!

Free Pattern for Easy Modern Half Square Triangle Quilting Bee Basics Fabric Lori Holt Bee In My Bonnet Riley Blake Fabrics

There are 6 video tutorials to take you step by step learning how to make this quilt!  I want everyone to make the quilt but learn how to quilt it on their domestic machine.  So the tutorial takes you through how to cut fabric with a rotary cutter, piece fabric together with a 1/4 inch seam, create the quilt top, square it up, layer your quilt sandwich, quilt your quilt sandwich on your domestic sewing machine, make a binding for the quilt, attach the binding then hand or machine stitch the binding to the FINISHED QUILT!  So are you ready to learn how to quilt?  Watch the videos and have some fun, because….. you know quilting is just not difficult!

Easy Giant Half Square Triangle Quilt with Color Gradient

I’m using Riley Blake Fabrics Bee Basics by Lori Holt of Bee In My Bonnet.  The bright colors and small print attract me.  There isn’t a large print featured fabric to the collection or accenting stripe so I feel like all the fabrics are weighted equally and lend to a Easy Giant Half Square Quilt.  You can see that I laid out the colors of fabric in a gradient with reds, pinks, blues, greens, yellows and gray.  Of course you are designing your own quilt and can lay out your fabrics in any way.

Design your very own Easy Modern Half Square Triangle Quilt with this Free design sheet!

Don’t hesitate to duplicate fabrics in the half square triangles or have them all be a unique fabric.  That of course is up to you.  Dip into your stash of fabrics and find something that you will love.  Design away as you are the artist of your quilt.  If you are interested in purchasing a fat quarter collection of Bee Basics by Lori Holt then click here.  The fat quarter collection of Bee Basics will give you enough fabric to make almost two quilt tops.  One for you and one for a friend possibly.

Buy NowBee Basics Lori Holt Fabric Fat Quarter BundleBee Basics Lori Holt Fat Quarter Bundle fabric for the EASY Modern Half Square Triangle Quilt

Shopping for fabric?  Remember you need a 16 inch square of fabric that can be cut into two triangles.   There are 32 triangles in this quilt.  If you want each triangle to be an unique fabric then pull 32 different pieces of fabric.  If purchasing fabric from a store, get a fat quarter of the fabric if it is available or 1/2 yard of fabric (18 inches) to be able to cut your 16 inch square.  Download and print the Easy Modern Half Square Triangle Design Sheet to cut small pieces of fabric for your layout.


Download Easy Modern Half Square Triangle Quilt Design Sheet NOW

Design Sheet download by Deanna from Stitches Quilting.

When a 16 inch square is cut in half then you will have two triangles of fabric to work with.

Easy Giant Half Square Triangle Block 15 inches


To start the quilt I will cut 32 - 16 inch squares because I want each of my triangles to be a unique fabric.  This will actually give me enough fabric to make two quilt tops of the Easy Modern Half Square Triangles.

Easy Giant Half Square Triangle Cutting Diagram

I will then piece the two triangles together using a 1/4 inch seam to from a square.

Easy Giant Half Square Triangle Block 15 inches


Lay out all of the pieced triangles in a pattern of 4 sets across in 4 rows.  This will make your quilt to be approximately 60 inches square.

Easy Giant Half Square Triangle Quilt


I will sew Row 1 of the quilt top together

Easy Giant Half Square Triangle Row 1


Sew together each row in the same fashion then we will sew each row to each other while nesting seams to ensure that all of our points match up.

Just so you have the vision,  You will learn how to quilt with straight lines about 2 inches apart on your domestic sewing machine then here's the backing fabric that I used and pieced together.

Free Pattern for Easy Modern Half Square Triangle Quilting Bee Basics Fabric Lori Holt Bee In My Bonnet Riley Blake Fabrics

Hopefully this helps you to get the concept of how to cut fabric and how to design your quilt top to begin the process.  Tomorrow we will discuss a few more techniques and tips in detail to construct your quilt.  At least this gives you a frame work to get your fabrics selected.  I will post the live video of how we are constructing this quilt after it has been posted.  Along with additional items to help you.  Follow us on Facebook where we are hosting the full tutorial and sew along at https://www.facebook.com/stitchesquilting/   The Facebook video tutorials are embedded below.

Don't forget to review 12 Hacks Every Quilter Should Know page.  12 Quilting Hacks Every Quilter Should Know

Can't wait to see you today and then see our progress tomorrow!  Please comment below with questions or clarifications that you may need.

Happy Stitching,

Deanna Wall Stitches Quilting Stitching Through LifeDeanna Wall Stitches QuiltingStitches Quilting Online Neighborhood Quilt Store & Blog

Posted on

Easy Sew Simple Infinity Scarf Tutorial

Finish the center seam by rolling the edge and stitching down.

Easy Sew Simple Infinity Scarf Tutorial

It is simple to sew yourself a trendy simple infinity scarf from your favorite fabric.  Cut your fabric 14 inches wide and WOF  (width of fabric – how wide your fabric is from selvage to selvage).  If your fabric has a print or line cut along the pattern as shown below.

Trim Your fabric for your scarf 14 inches wide and the width of fabric

Press the length of the scarf on either side one turn.

Press your fabric with a double turned hem

Press again for a double turned finished hem to stitch closed.

Press your fabric with a double turned hem

Stitch the double pressed hem closed on both long sides of the scarf.

Stitch the doubled folded pressed hem along the outside edges of the infinity scarf.

Back stitch at the end of your ends.

After you have stitched both sides of the scarf, fold so you are now stitching closed the selvage ends of the scarf.  Use a 1 inch seam allowance.

Sew together the two ends of the fabric to form an infinity scarf

Press open the center seam and fold over to prepare a finished look.

Press open the center sewing seam

There is no need to double roll this hem as you are working with the selvage with this piece of fabric.  If you are not working with the selvage, double roll your seam to give it a finished look.

Finish the center seam by rolling the edge and stitching down.

Enjoy your scarf!  I will upload a video for you to see the finished product!  Or visit my social media to see me trying on all three scarves that I made with this pattern!  Let me know other ideas that you might have with this scarf.  We could piece fabric together to make it have a patchwork look.  We could use strips of fabric pieces together even using raw unfinished edges.  If you have any questions, please comment below!

This is a nice quick project to get your sewjo back in full swing.  If you make a scarf please tag me on social media so I can see it!  Instagram and Facebook @stitchesquilting!

Lots of Love!

Deanna Wall Stitches Quilting Stitching Through Life