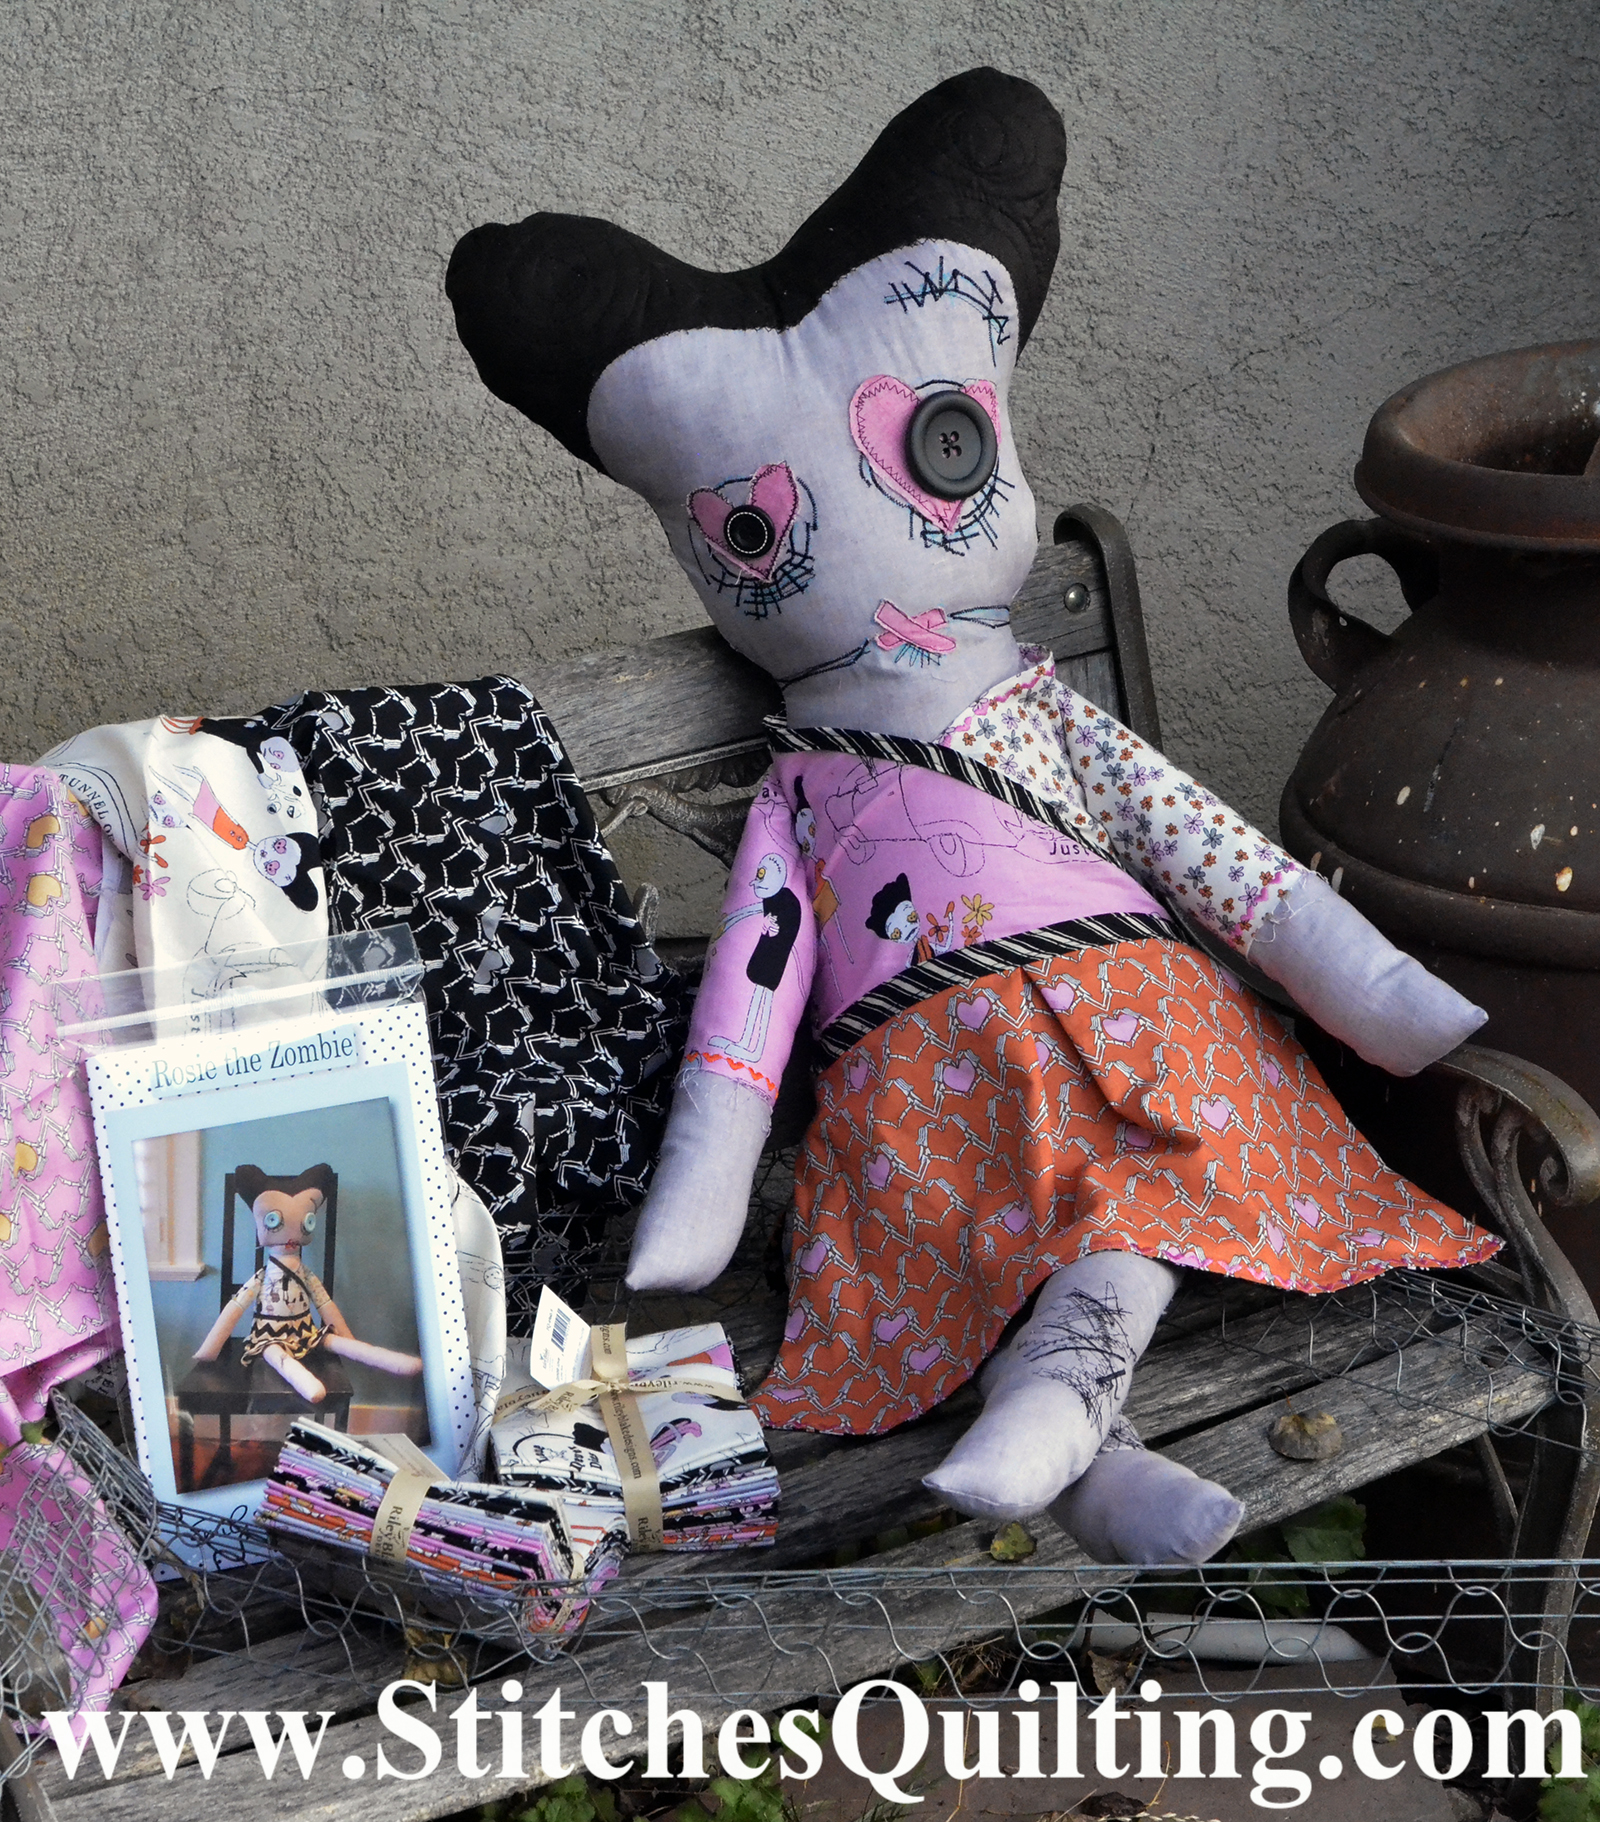
Easy Sewing Tutorial with lots of photos and video to learn basic skills while sewing something as fun Rosie the Zombie Pattern by Emily Taylor Designs with Zombie Love fabric!
I was able to construct Rosie from only one Fat Quarter collection of Zombie Love Fabrics and Riley Blake’s Slate Gray Shade. If you would like a kit with the pattern and all the extra pieces it is available for sale (click this link).
Before cutting out the paper pattern completely for Rosie’s body front and back, I cut out the pattern construction markings and taped them to the front of the pattern within the cutting line. Cut the Body Front and Back out of a gray fabric.
Cut 2 pieces each of the arm and leg following the fabric grainline on a gray fabric. Here I used Riley Blake’s Gray marble. Set the legs aside because you are going to stitch on the legs with black thread the “scratches”.
Cut out Rosie’s Front of Hair and Back of Hair in a black fabric. At the same time of cutting out the hair, I also cut out batting to match and set these aside.
For the Pink Main Zombie Love Fat Quarter, cut out the Front of blouse A, Back of Blouse and cut 1 Sleeve because the sleeves will be two different fabrics. Please note, we are laying the pattern pieces with the grain line of the Fat Quarter which is parallel to the selvedge. I also tried to lay out the pattern pieces to capture the Zombie scenes on the fabric.
We are now cutting out Rosie’s shirt accent color pieces with a contrasting sleeve and shirt front.
I thought the orange skeleton hands with hearts would be perfect for Rosie’s skirt. If you are making Rosie more for a Valentine project perhaps you would like the pink skeleton hands fabric. A fat quarter is the perfect size to cut the skirt front and back. Be certain to line of the top and bottom of the skirt with the pattern of “lines/stripes” of the fabric while cutting with the grain line.
Notice that I am now cutting a lining for Rosie’s skirt from the black flower pattern in the Zombie Love Fat Quarter Collection. You can see a bit of the orange skeleton fabric peeking out below.
Here are all the pieces of Rosie laid out so you can get an idea of how the pieces work together. Notice the accent stitches along the sleeves and that the homemade bias is not yet sewn to the skirt back.
Here are the clothing pieces sewn together for Rosie the Zombie. Can you see it starting to come together? Here Rosie’s clothing is now pinned to the body pieces getting ready to be stitched together.
You can notice that I layered Rosie’s Hair with batting and quilted hair designs to give Rosie more texture.
Notice the stitching on Rosie’s face. First I transferred the face pattern to the gray fabric with a disappearing fabric pen. Then we stitched away with a variety of satin and zig zap stitches. I also added 2 pink heart for her eyes.
Now you assemble the Rosie the Zombie according to the pattern instructions by Emily Taylor Designs. A couple tips would include to be sure to match up certain points like her head, neck, bias tap for skirt front and back etc.. I also customized the pattern by added some bloomers sewn into her using the extra fat quarter pieces.
Rosie is almost three feet tall including her skinny legs. She isn’t too big but definitely a fun accent piece to have in your home to bring some delight!
I am attaching some video that I did when periscoping this tutorial and you might find it helpful but video from Periscoping isn’t ideal because you are filming live and just awkward things happen. To follow me on periscope my handle is @stitchesquiltin
Please let me know if you have any further questions.


