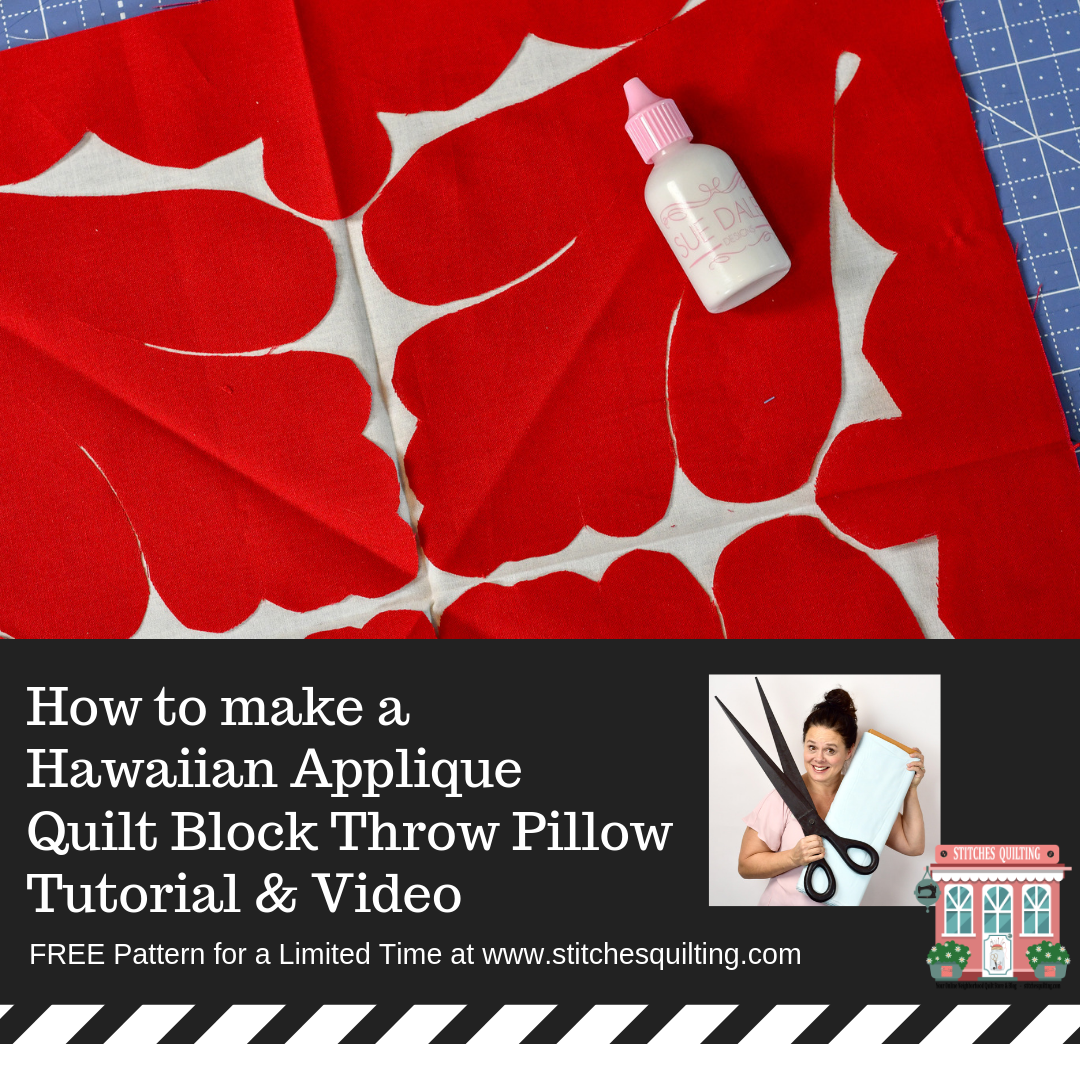
Hawaiian Quilt Block Tutorial Free Pattern
Hawaiian Quilt Block Tutorial Free Pattern is finally available! I’m EXCITED to share this!
FIRST THOUGH… ! I will be an instructor in Hawaii on the Big Island at Quilting on the Beach February 2 – 9, 2019! I will be teaching the Live Well Live Strong Quilt all day February 4th! I hope you can come and enjoy the spirit of quilting in Hawaii along with numerous other classes offered! If you can’t join me in Hawaii, we will have a virtual sew along around the globe that will start February 1, so purchase and download your pattern NOW!
-

Live Well Live Strong Quilt Pattern
$29.99 – $35.99 Select options This product has multiple variants. The options may be chosen on the product page -

Live Well Live Strong Quilt Kit – NO PATTERN
$32.99 – $64.98 Select options This product has multiple variants. The options may be chosen on the product page
Have you been curious about Hawaiian Quilting? Let me share a few things that I have learned!

Quilting was introduced to the Hawaiian people in the 1820’s when missionaries visited the island. It was at this time that Cotton fabric was introduced to the Hawaiian people.

Hawaiian natives used their customs and nature to inspire their quilt designs. Quilts tended to have symmetrical medallion centers that would be appliqued from a whole cloth to a background of a whole cloth. Solid bright fabrics are very traditional as the quilt shown above with the red and white.

You can see how the nature is reflected in their applique patterns & designs.

Hawaii inspires me all the way from the nature, culture and quilting. Here I am enjoying a Hawaiian sunset while reading about Hawaiian quilting. Think of Hawaiian Quilting as a folded paper snowflake that will last forever and become an heirloom.

You can see supplies I used to make a Hawaiian Applique Throw Pillow in the photo above. I recommend starting with a small project when learning the applique technique. Above you will see Gingher scissors that are necessary to cut through 8 layers of fabric accurately at once. A stapler can be used to hold your fabric layers securely together. Pencil and the 1/8 pattern is used to trace the pattern to the fabric. Of course an iron and pins are needed too. Optionally, we used Sue Daley Glue too. Download your free pattern HERE. Print off the triangular shaped pattern and cut it out.

You will be working with 16 inch squares of fabric. A red one for the top of the quilted pillow applique and white 16 inch square for the background of the pillow. The pattern we are using is a 1/8 quilt pattern. We will fold our white and red fabric into 1/8ths. We fold our background fabric so we have confidence we are laying out our red fabric correctly.

We fold our red fabric into a 1/8th triangle. The pattern that we printed off is now cut out and possibly traced to a thicker piece of cardstock. Using a pencil trace the design to the fabric paying attention to the fold lines. You can pin or staple your fabric together in preparation to cut out with very sharp scissors. We are using Gingher Scissors for this project as it will maintain a good consistent cut through all folded eight layers of the fabric. We are using Sue Daley glue to apply our fabrics together.

Unfold your cut out design, then pin or glue to the white background fabric leaving a space to turn your applique edge.
You will learn a tremendous amount of information from Karen (that runs Quilting on the Beach Retreat) at the BRAND NEW Hawaiian Quilt Museum!
To learn how needle turn hand applique used to finish your Hawaiian quilt block watch this live video below for additional instructions.
Aloha! and Lots of Love! Please join me in Hawaii! I would love to play with all of YOU!


-

Live Well Live Strong Quilt Pattern
$29.99 – $35.99 Select options This product has multiple variants. The options may be chosen on the product page -

Live Well Live Strong Quilt Kit – NO PATTERN
$32.99 – $64.98 Select options This product has multiple variants. The options may be chosen on the product page


 1.5 yards – 3.5 inch Red Jute Webbing at Stitches Quilting Online Store

 Half a yard each – Riley Blake My Minds Eye Lost and Fabric Fabric at Stitches Quilting Online Store
 Half a yard – Roclon Osnaberg Natural Fabric at Stitches Quilting Online Store
