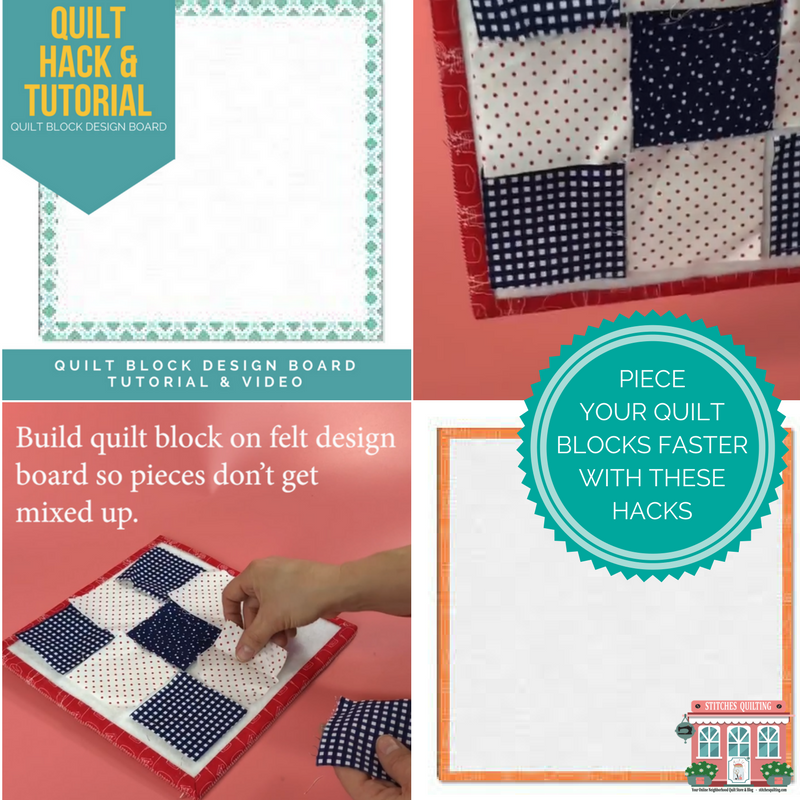
Quilt Block Design Board Hack
Quilt Block Design Board Hack! How to make your own Quilt Block Design Boards Tutorial!
Quilt Block Design Boards dwindle my hesitation in piecing as the fabric stays put. With more quilty confidence, I can make my quilt blocks faster without second guessing myself or constantly rechecking instructions. This means less seam ripping. AND if you use the 100% Cotton Batting then your design board doubles as a handy surface to press on too! Hey that’s less time running to the ironing board and means accurate quilt blocks! Quilty partay dance!

If you have watched my live “Sewcial Quilting Tutorials”, then you have seen me use these portable quilt block design board hack tutorial in action multiple times!

The Quilt Block Design Board Hack Tutorial is included in my short video of Twelve Hacks Every Quilter Should Know.
Quilt Block Design Board Hack Tutorial
So let’s get started! I’ve been wanting to share this tutorial for a LONG time!

You will need 1/2 yard of 100% Cotton Batting to make 2 – 18 inch design boards or it can make 1 – 18 inch design board and 1 – 10 inch design board. You can place a layer of Thermolan Plus layer under the 100% Cotton Batting. Now what is Thermolan Plus and why use it for your Quilt Block Design Board Hack Tutorial? Thermolan Plus made by Pellon is a needled polyester batting that can withstand heat. You might find yourself using for design boards, baby bibs, diaper changing pads, tote bags, placemats, jackets, vests, protective surface for dining room tables, table pads, or use two layers of Thermolam under a cloth pad for your ironing board, pressing or fusing surfaces, Christmas stockings, tree skirts, or extra lining in jackets and coats.
Dollar Store Foam Core Sheet

Drop by your local Dollar Store and pick up a several Foam Core Sheets. Look for organizational bins and tools at the Dollar Store while you are there! Snap pictures so we
can all see your organizational ideas for our quilting items!

Price check pre-made Design Boards purchased at Stitches Quilting. How much money might you save with this hack?
Select your favorite fabric to cut 4 inch strips that will surround the edge of your design board. You will need 2 – 4 inch x 42 inch strips sewn together end to end for the 18 inch design board. You need only 1 -4 inch x 42 inch fabric strip for a 10 inch design board. This could be a scrap buster, as you can make lots for your quilty friends! It is important to press your design board fabric strips like a single fold bias tape strip. See the diagram below.

After you press your fabric strips in a Single Fold Bias Tape, secure the center of the strip by stitching a zig zag stitch down the center of the strip and press again. See the diagram below. The purpose of the zig zag stitch is to hold the raw edges and to reinforce the edges of your design board.

Warm up your hot glue gun and continue to step Four of the instructions. Place on top of your cut foam core the same size of cut 100% Cotton Batting. Hot glue the 100% Cotton Batting along a narrow circumference of the foam core. It is not necessary to hot glue the entire piece of 100% Cotton Batting to the foam core in the center, just hot glue around the center. TIP: Squeeze your hot glue gun in sections of 8 inches on the foam core and then lay the 100% Cotton Batting to stick to the foam core. If you do longer sections the hot blue will start to harden and not be tacky. Continue around all four sides of the foam core.

Live Video Tutorial will stream on Facebook, YouTube and Instagram March 20, 2018. Can you imagine making 12 design boards to hold the pieces of 12 quilt blocks all laid out and ready to go when you are? Handy dandy! You might just stitch more knowing you don’t have to rethink how all those fabric pieces go together for each block! An 18 inch quilt block design board is ideal for piecing 12 inch + sized quilt blocks. You will find a 10 inch quilt block design board is handy for building smaller blocks.
I think I’d like to make 12 of each 18 inch and 10 inch size! Hmmmm… wait a minute how many UFO’s do I have tucked away? STOP – Nevermind…. let’s not go there… I don’t need 12 design boards for each UFO…. Breathe one quilt at a time. Pace yourself! I still think I’ll make 12 of each size though… hehe.
WARNING THOUGH – our live videos are not about pure instruction we have a lot of fun connecting, answering questions and keeping in touch. (I think some people would like it to be instructional BUT I do care about all of YOU). It’s all about community in a kind place. The more followers I have the better freebies and giveaways I can get from awesome companies!
Follow Stitches Quilting on You Tube for Live Quilting Instructional Videos and lots of Quilty FUN
Quilt Block Design Board Hack Tutorial FREE Download
I won’t keep you any longer… because I think Your Sewing Machine is calling you!

Be sure to subscribe to Stitches Quilting newsletter so you don’t miss out on any awesome tutorials or quilty fun! Please comment below what you think and don’t forget to download your FREE instruction guide and printable to save when you need it! Let me know if you have questions too!
PS: Join us in our sew alongs with Stitch Happens Sewing Machine Quilt, Farmhouse Window Quilt Tribute to Nancy Zieman and Jelly Roll Rug! Ohhh… tooo much FUN! Next I’ll be doing a spring quilting series on how to make Collage Quilts…. gasp.. oh my!


