Posted on

Easy Pillowcase Tutorial & Pattern UPDATED

Easy Pillowcase Pattern Tutorial Updaed

Easy Pillowcase Tutorial & Pattern UPDATED

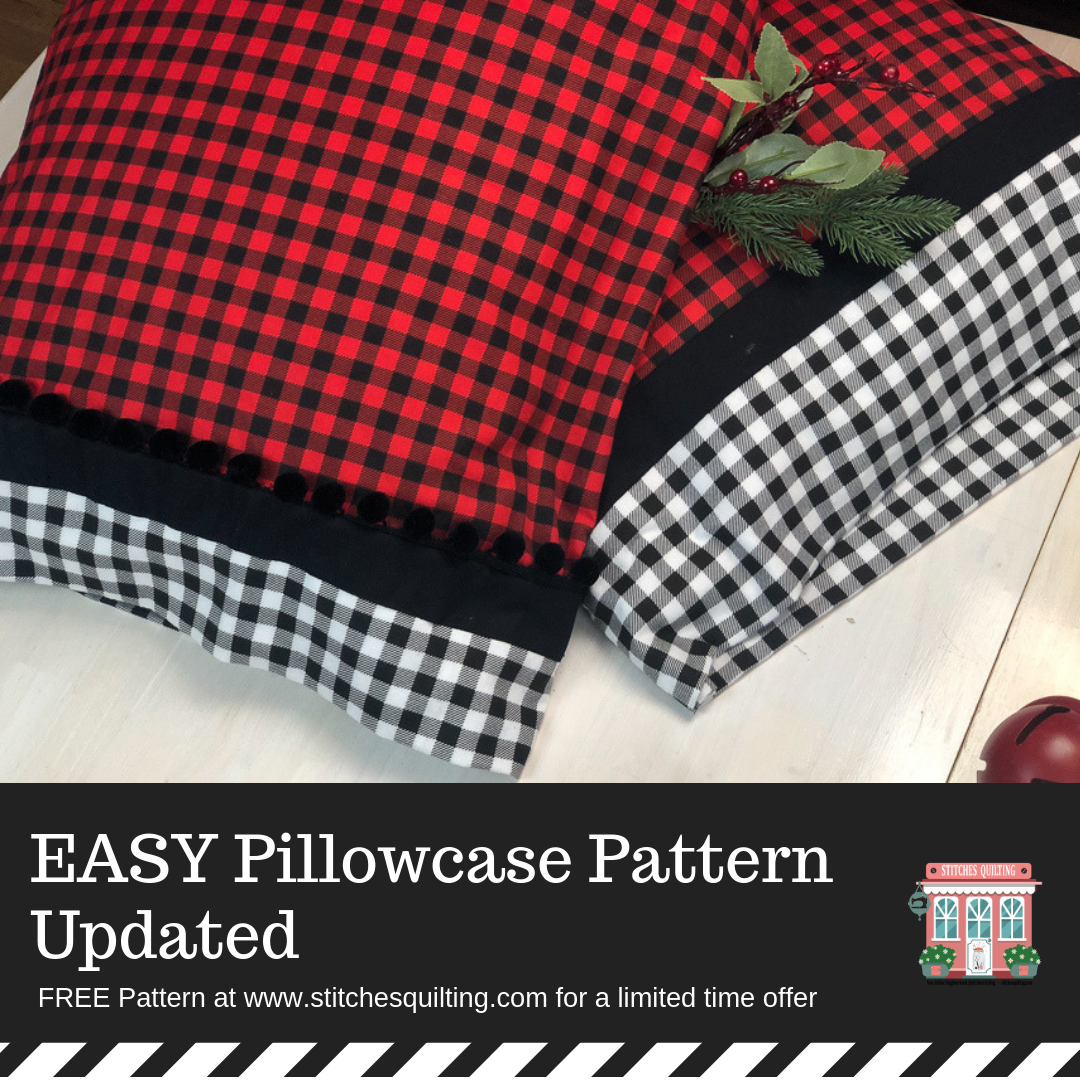
Easy Pillowcase Pattern - Cover Page 1

Cut Your Fabrics

Easy Pillowcase Pattern & Tutorial - Cut Your Fabric Page 2

Press Your Fabric

Easy Pillowcase Pattern & Tutorial - Press your Fabric then Layer Page 3

Layer your Easy Pillowcase in a PBJ then stitch it as a burrito!

Easy Pillowcase Pattern & Tutorial - Stitch down the raw edges

Pull your excess Pillowcase fabric from you burrito.

Easy Pillowcase Pattern & Tutorial - Pull Loose Fabric from Burrito, Press and TRIM Page 5

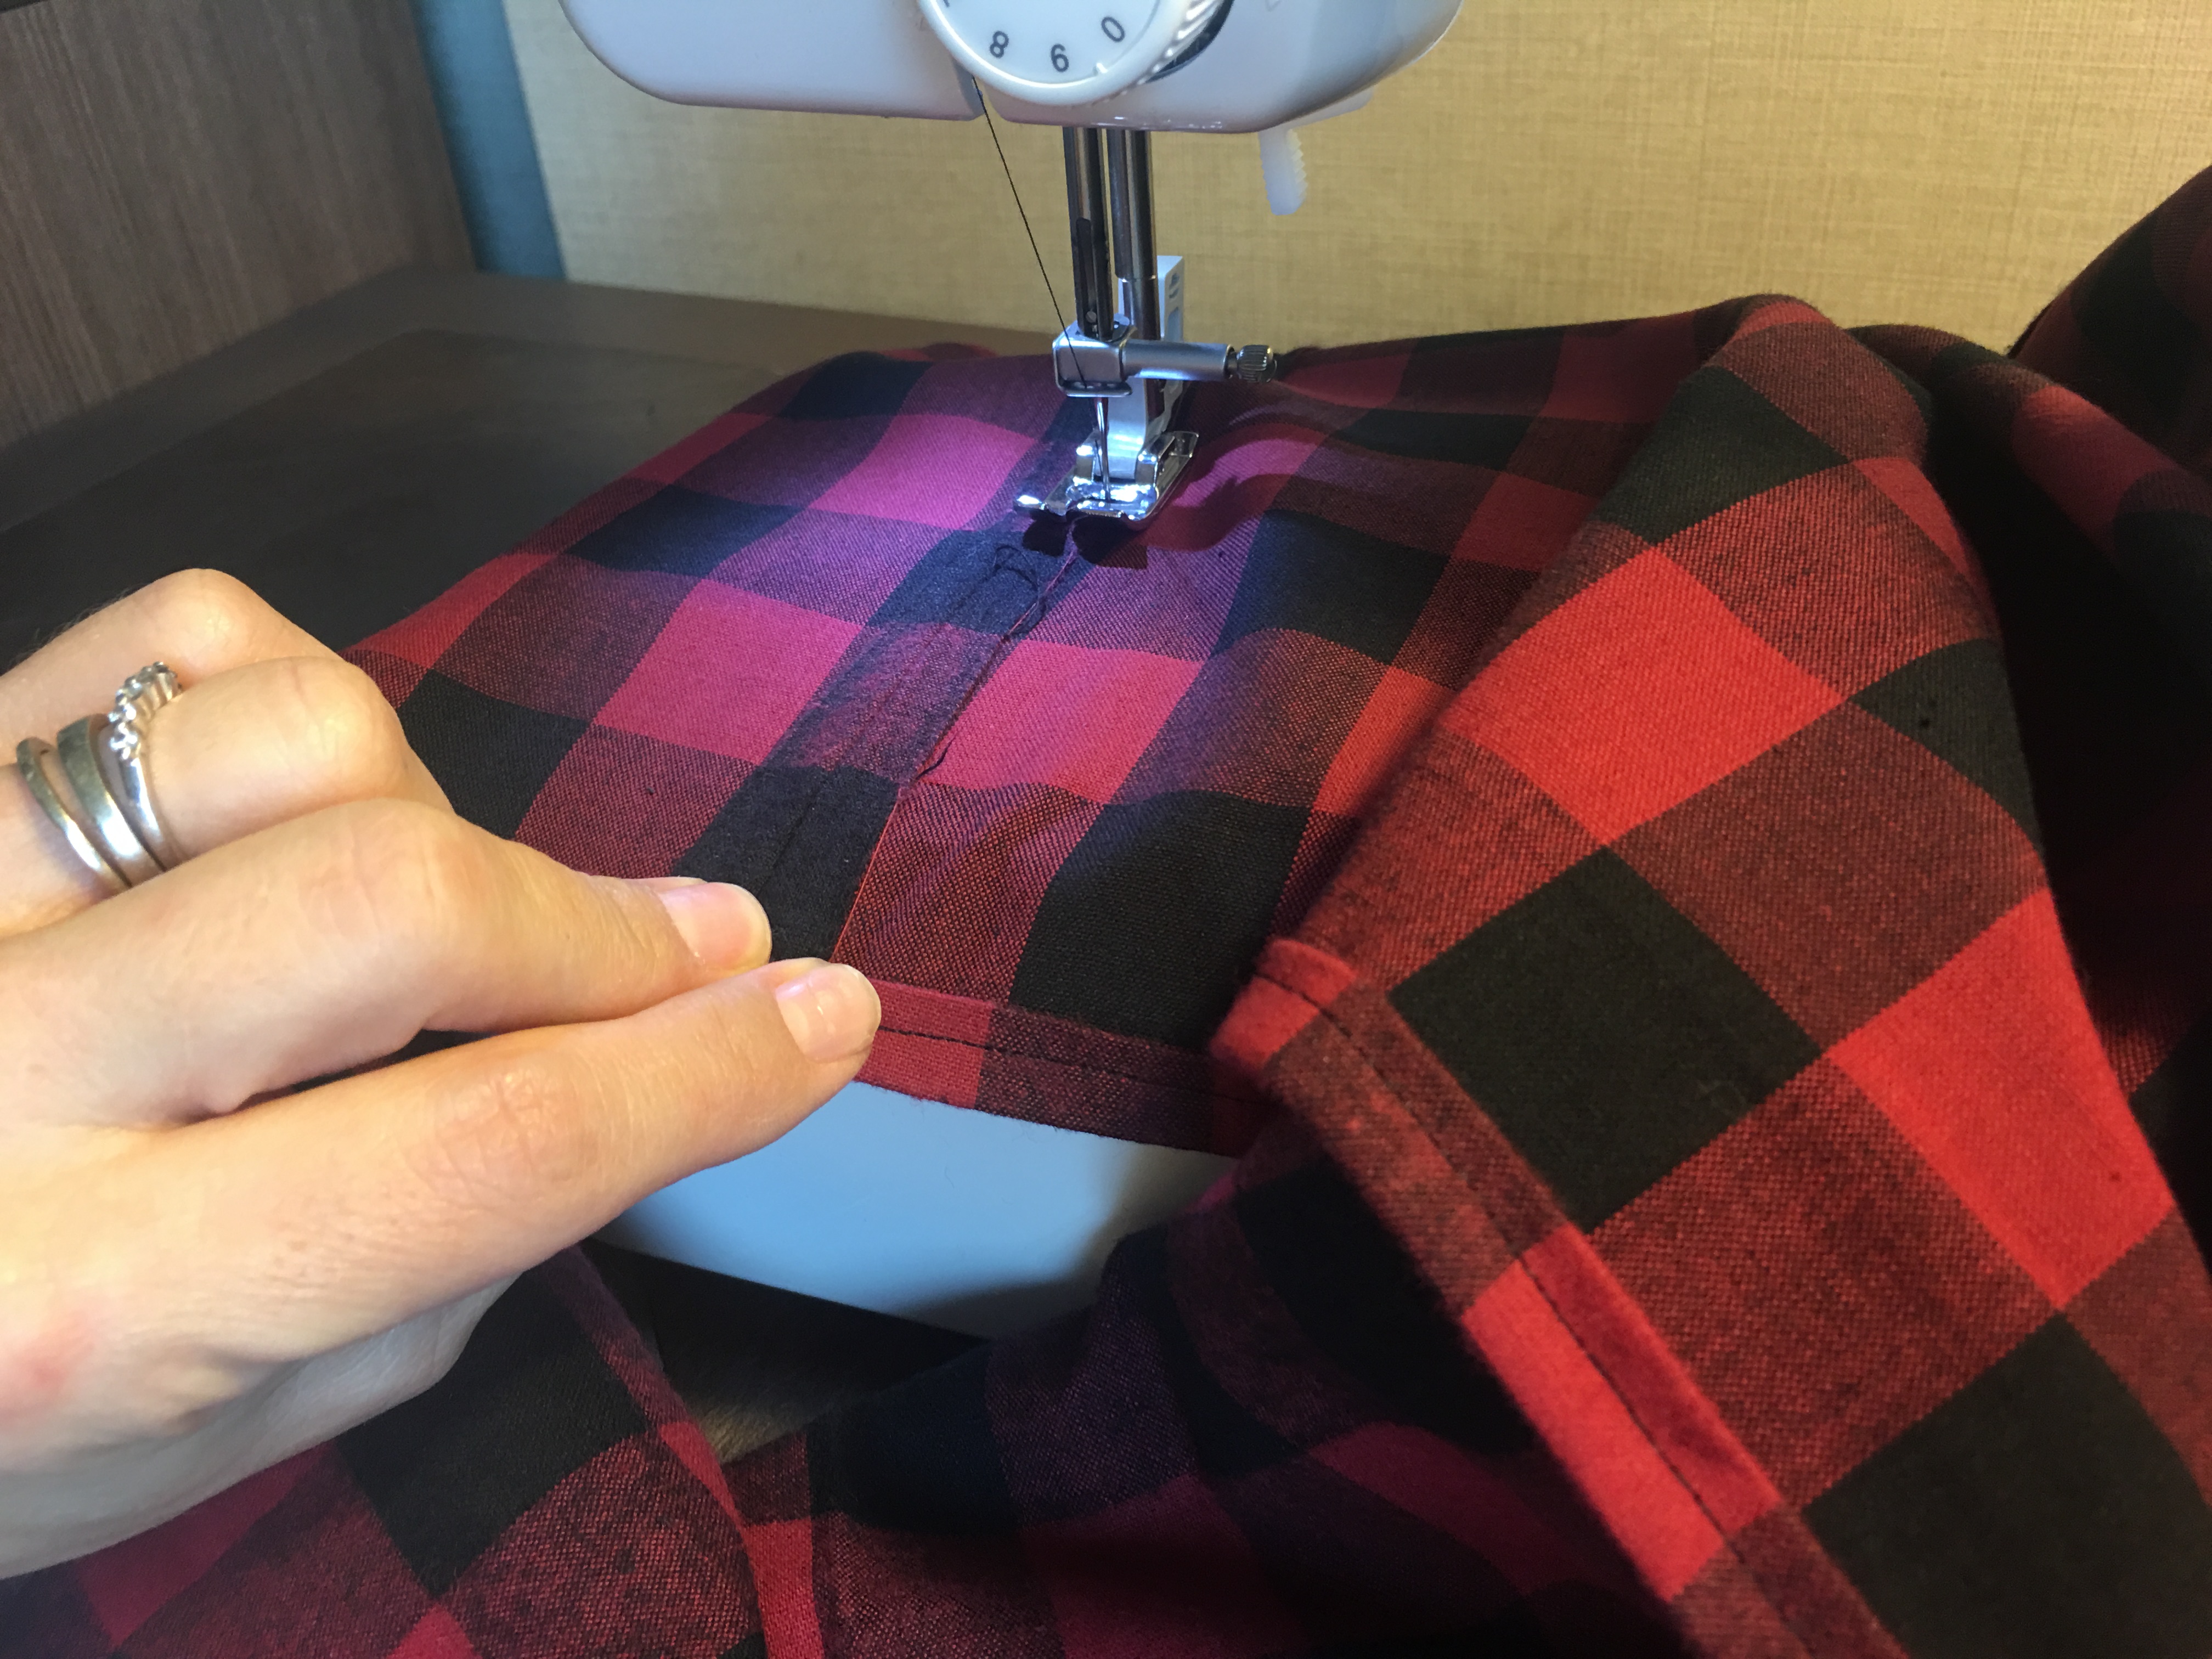
Stitch around your pillowcase with wrong sides together to make your French Seam.

Easy Pillowcase Pattern & Tutorial - Pin & Stitch around Pillowcase Wrong Sides Facing Each Other Page 6

Carefully press your pillowcase again for your final stitch!

Easy Pillowcase Pattern & Tutorial - Press & Stitch with right sides of fabric facing each other for a French Seam Page 7


Enjoy your PILLOWCASE!

Easy Pillowcase Pattern & Tutorial - Press & Stitch with right sides of fabric facing each other for a French Seam Page 8


Coming Fall 2018 - EasyPressâ„¢ 2, Raspberry - 6 

Deanna Wall Stitches Quilting Stitching Through LifeDeanna Wall Stitches Quilting TutorialsStitches Quilting Online Neighborhood Quilt Store & Blog

Posted on

DIY Handmade Holiday Gifts Tutorial

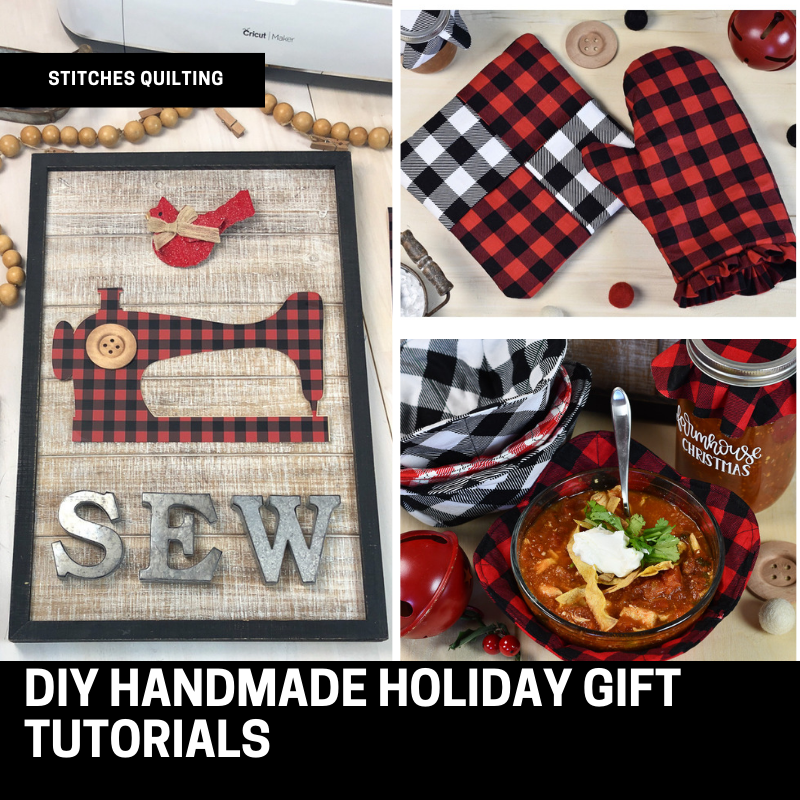
Make your own DIY HANDMADE HOLIDAY GIFT TUTORIALS for friends and family

DIY Handmade Holiday Gifts Tutorial

Making Handmade Holiday Gifts makes me excited for Holidays!  Creating Holiday gifts with the Cricut Maker just gives a professional look and cut!  

Soup Bowl Cozy – fabric sewing

Cricut Maker Buffalo Plaid Rounded Soup Cozies (2)

Curved edges on the quilted cozy soup bowls softens their look.   They are so handy to make a set and stack on top of each other.  

Cricut Maker Buffalo Plaid Rounded Soup CoziesFor the free Curved Soup Bowl Cozies subscribe below!  Nest together and stitch on the blue line!  


Download Your Curved Soup Bowl Hotpad Cozy Pattern PDF

Enjoy a 9 page pdf pattern download with step by step instructions for the Curved Soup Bowl Hotpad Pattern


Materials needed:  2 - 10 inch fabric squares AND 2 - 10 inch pieces of batting.  {Use all cotton materials for a microwave safe version.  Increase insulation by adding a layer of Pellon Insul-fleece available in the Stitches Quilting online store! )

Soup Bowl Cozy Hot Pad Materials needed 2 -10 inch square of fabric and batting


Or.... have the Cricut Maker in Cricut cut out exact dimensions for you from this FREE Cricut Community file!  hmmmmm... so many possibilities. 

Soup Bowl Cricut Rounded Cozy Hot Pad


Especially fun for making a bunch of these soup bowl cosies as a DIY handmade holiday gift for neighbors, friends or family!  

If you don't cut out your soup fabric bowls on the Cricut Maker then use this handy guide from a 10 inch squares of fabric!  

  1.  Stitch an "X" on each 10 inch fabric square with a piece of batting behind it.Soup Bowl Hot Pad Cozy Stitch an X from point to point
  2. After stitching your "X" fold your fabric square in half.  Using a ruler, mark two dots 1 inch from the fold and 2 inches from the top of the batting side.  Draw a line meeting the two dots. Soup Bowl Hot Pad Cozy Tapered Markings
  3. Repeat this step on all four sides of your fabric squares.   This will be a stitching line to taper your bowl.  Remember one inch from the fold and two inches from the top.  
  4. Stitch on the diagonal lines you drew on the batting side.  
  5. Trim the excess fabric.
  6. Curve your square corners with a bowl to mark your stitching line.   Use a bowl to trace the edges of your quilted 10 inch squares or download your pattern here!Soup Bowl Rounded Hot Pad Cozy Instructions
  7. Nest your tapered bowls together with right sides together.  
  8. Stitch on your blue curved lines with right sides together on the straight edge of the curve.Soup Bowl Rounded Hot Pad Stitch Line
  9. Leave a two inch opening on the "straightest" edge of the curve.
  10. Trim the excess fabric from the blue stitching line.  
  11. Turn inside out through the opening.
  12. Top stitch the opening closed then all the way around the top of the Hot Pad Soup Bowl Cozy
  13. Enjoy your Rounded Soup Bowl Cozy Hot Pad with some hot soup or gift this awesome Handmade Soup Bowl Cozy!

CLICK HERE FOR THE COMPLETE Soup Bowl Hot Pad Cozy Tutorial!  


Ruffled Buffalo Plaid Hot Pad Hand Mitt -  Cricut Simplicity Sewing Pattern 

Cricut Maker Buffalo Plaid Ruffled Hot Pad Handmade Gift Standing Up

Love the trendy ruffled edge for the wrist on this Handmade DIY Buffalo Plaid Hot Pad Gift.  

Cricut Maker Buffalo Plaid Ruffled Hot Pad Handmade Holiday Gift with cookies

Check out the Simplicity Hot Pad Pattern available in Cricut Design Space.  

Cricut Maker Buffalo Plaid Ruffled Hot Pad Fabric Cut

Buffalo Plaid Fabric can be purchased from Stitches Quilting online fabric store CLICK HERE.  

Red and Black Plaid Fabrics

EASY Square Hotpads Layered - fabric sewing

Cricut Maker Buffalo Plaid Handmade Gift

Materials Needed:  Easy to make square hot pad made from 6 - 10 inch square pieces of fabric and 2 - 10 inch square pieces of batting. 

Cricut Maker Buffalo Plaid Hot Pads Supplies Needed for Holiday Gifts

  1.  Can you see the order of the fabrics laid out?  Start with a white or muslin square that will not be seen.  Stack your batting 10 inch layer and add a Pellon Insul-fleece Layer for heat resistance if you would like.  Layer with a red square of  buffalo plaid fabric and then layer 4 Folded in half 10 inch squares overlapping staggered on top with the raw edges facing outwards.  

Handmade Holiday EASY Layered Hot Pad

2. Let's review the top layer.  Fold four 10 inch squares into a rectangle.

Handmade Holiday EASY Layered Hot Pad

3.  Match the two red buffalo folded 10 inch fabric squares side to side with folded edges matching each other in the center and raw edges to the outside.  

Handmade Holiday EASY Layered Hot Pad

4.  Overlap, weave and stagger the two black and white folded 10 inch fabric squares through the red buffalo squares in a pattern like closing a cardboard box.  

5.  Stack all your layers in order and stitch around all four sides of the Hot Pad. 

Handmade Holiday EASY Layered Quilted Hot Pad

6.  Peek through your four weaved top layers to turn inside out!  Voila and no need to close!  


Let Us Sew Wooden Snowflake  - Cricut Iron On & Wood Cutting

Let Us Sew DIY Wooden Snowflake Holiday Decor


Check out your local dollar store for raw wooden items to paint.  This wooden snowflake is easy to cut out with your Cricut Maker and the knife blade.  Quickly access this Cricut black iron-on cut file for free in the Cricut Community Design Space!  I love using iron-on with my wood projects!  It looks seamless and beyond professional!  Wouldn't a "sewy or quilty" friend love this snowflake? 

Let Us Sew DIY Wooden Snowflake Holiday Decor

I love using the Cricut Easy Press 2 when ironing on the wood as I can select the perfect temperature and time!  Click here to access the online Cricut Interactive Guide to determine the perfect temperature and time to apply your iron on.  


Farmhouse Christmas Canning Jar - vinyl

Farmhouse Christmas Canning DIY Holiday Gift

The "Farmhouse Christmas" vinyl cut file is free with Cricut Design Space Access Account.  The white vinyl is striking against this homemade canned jar of salsa.  Talk about the perfect holiday gift to crack open and smell garden grown tomatoes!  The canning jar buffalo plaid fabric accents the charm perfectly.  You can cut out all your fabric circles on a Cricut Maker with the Rotary Cutting Blade.  

Farmhouse Christmas Canning DIY Holiday Gift

Compare the two photos above!  The white vinyl just pops the charm on this DIY Handmade Holiday Gift.  I cut the white vinyl and used clear transfer tape to apply the vinyl on the glass jar.  

Tree Ball Jar Sipping Cup - vinyl

Christmas Tree Holiday Ball Jar Straw Mug

Apply green Christmas Tree vinyl on a clear ball jar with a striped straw for some extra holiday fun!  

Fabric Gift Baskets - fabric sewing

Cricut Maker Simplicity Fabric Basket Handmade Holiday gift

Did you know Cricut Design Space has preloaded Simplicity sewing patterns?  The complete instructions for the pattern are loaded for you to access digitally or print off for convenience.  These fabric baskets are made by cutting out rectangular squares of fabric and medium weight stabilizer on the Cricut Maker with your rotary blade. 

Holly Jolly Fabric Holiday Basket Grommets

After stitching these together, it felt awesome to add the black metal grommets with a little bit of hammering.  The beauty of these fabric baskets is that you use the metal grommets to fold the baskets outwards to make a larger box or inwards for a smaller box.  Happy boxing baskets!

Farmhouse Holiday Tee Towels - iron on

Cricut Tee Towels Pine Cone Black Trucks and Fabric

I love the variety of tee towels you can find nowadays!  It is as slick as can be to cut out with gold an iron on pine cone element for a holiday accent.  The pinecone is available for free in the Cricut Design Space Access Account.  

Cricut Tee Towels with Black Truck Iron On

The pick up truck silhouette is available in Cricut Community to access here!  I drove them in a row and applied them on the tee towel with the Cricut Easy Press 2 using the perfect time and temperature settings.  

Cricut Tee Towels with Printed Iron On Winter Green

Printed Iron On sheets are fun to use for DIY Handmade Holiday Gifts!  I love the variety of printed iron on materials available at my local craft store on online purchase.  

Cricut Gold Foil Pine Cone on Buffalo Plaid Tee Towel Cricut Easy Press 2

Using the Cricut Easy Press Interactive Quick Reference Guide online,  I ironed on the Gold Pine Cone at 340 degrees for 30 seconds in the cricut Easy Press Mat.  It felt like precision with a polished finished gift!  


Holly Jolly Classic Mugs - vinyl

Cricut Maker Holly Jolly Vinyl Mugs Completed

There is nothing as classy as some Holly Jolly goodness on these dollar store mugs.  The simple black and white is very trendy

Cricut Maker Holly and Jolly Mugs to apply vinyl

Cut out the vinyl on your Cricut and apply with ease to your mugs using transfer tape!

Farmhouse Sew Wooden Signage - iron on knife blade wood

Sewing Machine Wooden Sign Buffalo Plaid

The Cricut Design Space Community file is available here!  I LOVE the combination of materials here with the wood and metal.  The buffalo plaid printed iron on rocks this sign!  

Sewing Machine Wooden Cricut Maker Sign

Cutting out the wooden sewing machine using your Knife Blade with the Cricut Maker is phenomenal!  I used the same digital file to cut out the iron on!  

Cricut Maker cutting wood and Buffalo Plaid Iron On Face Down on Mat

Embroidery Hoop Decor - iron on project

Embroidery Hoop DIY Handmade Truck Holiday Gift

Embroidery Hoop Decor is all the rage now!  Red plaid Buffalo fabric makes this project sing with your favorite images to cut out!  But imagine the possibilities of all sizes for wall decor to Christmas tree ornaments!  

Holiday Quilted Throw Pillow - Sewing Fabric

Holiday Pillow with Handmade Red PomPoms

A quilted holiday pillow is lots of fun with the Christmas fabrics from Stitches Quilting!  Simple is classy and clean with 16 - 5 inch squares sewn together.  The red quilted stitching a half inch from the seams makes all the difference with this snuggly pillow.  Want to make handmade pom poms that fit perfectly for your project?  Be sure to sign up for the Stitches Quilting newsletter to get our next published post with all the details.  

Learn how to make this Quilted Tribal Holiday Throw HERE!  

Please share ideas for more Handmade DIY Holiday gifts below!  Tag me in your Facebook, Instagram or Twitter posts so I can see what you are making.  You inspire me!  

Join our Cricut Maker Quilt & Sew Facebook Group and follow us on Facebook, Instagram and YouTube to follow live instructional videos on these projects with giveaways too!

Download Your Curved Soup Bowl Hotpad Cozy Pattern PDF

Enjoy a 9 page pdf pattern download with step by step instructions for the Curved Soup Bowl Hotpad Pattern


Cricut Maker Machine

Happy Holiday Sewing!


Deanna Wall Stitches Quilting Stitching Through Life

Deanna Wall Stitches Quilting

This is a sponsored conversation written by me on behalf of Cricut. The opinions and text are all sincerely mine.



DIY Sewing Quilting HANDMADE HOLIDAY GIFT TUTORIALS Hot Pads, with Buffalo Plaid, Vintage Trucks, Vinyl, Iron On, Wood, Metal & Fabric Combined, Fabric Baskets

Posted on 1 Comment

Quilt Block Design Board Hack Tutorial

PIECE YOUR QUILT BLOCK FASTER WITH THESE HACKS FREE QUILT BLOCK DESIGN BOARD TUTORIAL & PDF INSTRUCTIONS

Quilt Block Design Board Hack

Quilt Block Design Board Hack!  How to make your own Quilt Block Design Boards Tutorial!

Quilt Block Design Boards dwindle my hesitation in piecing as the fabric stays put. With more quilty confidence, I can make my quilt blocks faster without second guessing myself or constantly rechecking instructions.  This means less seam ripping.  AND if you use the 100% Cotton Batting then your design board doubles as a handy surface to press on too!  Hey that’s less time running to the ironing board and means accurate quilt blocks!  Quilty partay dance!
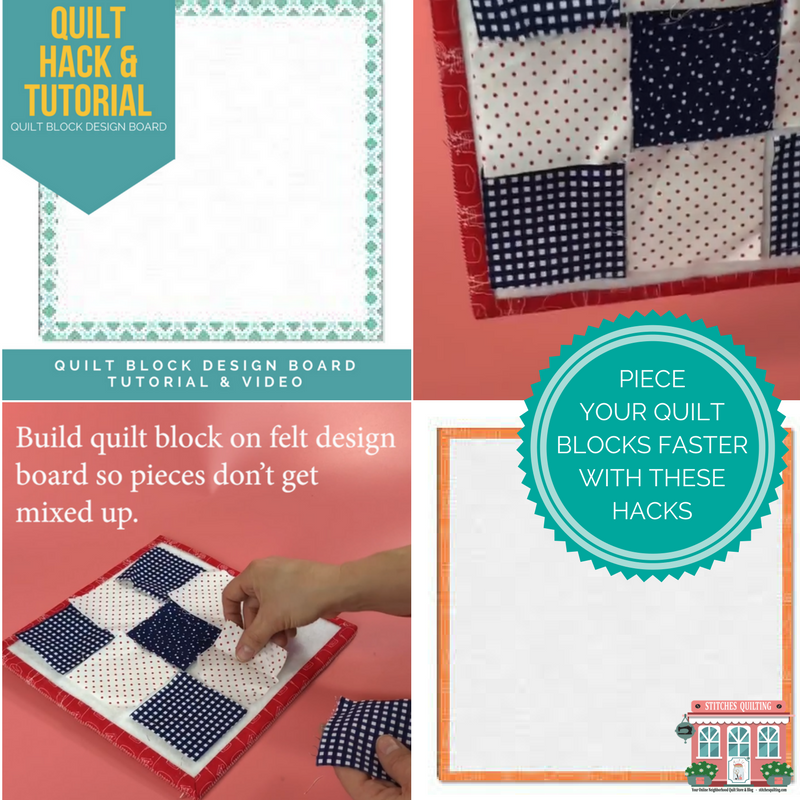
7a Quilt Hack - Arrange Quilt Block Pieces on a Felt Design Board from Foam Core so the Pieces Stay Put
7a Quilt Hack – Arrange Quilt Block Pieces on a Felt Design Board from Foam Core so the Pieces Stay Put

If you have watched my live “Sewcial Quilting Tutorials”, then you have seen me use these portable quilt block design board hack tutorial in action multiple times!

7b Quilt Hack - Quilt Block Arranged on a Felt Design Board Don't Fall Off
7b Quilt Hack – Quilt Block Arranged on a Felt Design Board Don’t Fall Off

The Quilt Block Design Board Hack Tutorial is included in my short video of Twelve Hacks Every Quilter Should Know.

Quilt Block Design Board Hack Tutorial

So let’s get started!  I’ve been wanting to share this tutorial for a LONG time!

Quilt Block Design Board Tutorial Page 1


Pellon Thermolam Plus TP970

You will need 1/2 yard of 100% Cotton Batting to make 2 – 18 inch design boards or it can make 1 – 18 inch design board and 1 – 10 inch design board.  You can place a layer of Thermolan Plus layer under the 100% Cotton Batting.  Now what is Thermolan Plus and why use it for your Quilt Block Design Board Hack Tutorial?  Thermolan Plus made by Pellon is a needled polyester batting that can withstand heat.  You might find yourself using for design boards, baby bibs, diaper changing pads, tote bags, placemats, jackets, vests, protective surface for dining room tables, table pads, or use two layers of Thermolam under a cloth pad for your ironing board, pressing or fusing surfaces, Christmas stockings, tree skirts, or extra lining in jackets and coats.


Dollar Store Foam Core Sheet

Foam Core White from the Dollar Store

Drop by your local Dollar Store and pick up a several Foam Core Sheets.  Look for organizational bins and tools at the Dollar Store while you are there!  Snap pictures so we

can all see your organizational ideas for our quilting items!


Quilt Block Design Board Tutorial Page 2


Price check pre-made Design Boards purchased at Stitches Quilting.  How much money might you save with this hack?

Select your favorite fabric to cut 4 inch strips that will surround the edge of your design board.  You will need 2 – 4 inch x 42 inch strips sewn together end to end for the 18 inch design board.  You need only 1 -4 inch x 42 inch fabric strip for a 10 inch design board.  This could be a scrap buster, as you can make lots for your quilty friends!  It is important to press your design board fabric strips like a single fold bias tape strip.  See the diagram below.


After you press your fabric strips in a Single Fold Bias Tape, secure the center of the strip by stitching a zig zag stitch down the center of the strip and press again.  See the diagram below.  The purpose of the zig zag stitch is to hold the raw edges and to reinforce the edges of your design board.


Warm up your hot glue gun and continue to step Four of the instructions.   Place on top of your cut foam core the same size of cut 100% Cotton Batting.   Hot glue the 100% Cotton Batting along a narrow circumference of the foam core.  It is not necessary to hot glue the entire piece of 100% Cotton Batting to the foam core in the center, just hot glue around the center.  TIP:  Squeeze your hot glue gun in sections of 8 inches on the foam core and then lay the 100% Cotton Batting to stick to the foam core.  If you do longer sections the hot blue will start to harden and not be tacky.  Continue around all four sides of the foam core.

Quilt Block Design Board Tutorial Page 3


Live Video Tutorial will stream on Facebook, YouTube and Instagram March 20, 2018.  Can you imagine making 12 design boards to hold the pieces of 12 quilt blocks all laid out and ready to go when you are?  Handy dandy!  You might just stitch more knowing you don’t have to rethink how all those fabric pieces go together for each block!  An 18 inch quilt block design board is ideal for piecing 12 inch + sized quilt blocks.  You will find a 10 inch quilt block design board is handy for building smaller blocks.

I think I’d like to make 12 of each 18 inch and 10 inch size!  Hmmmm… wait a minute how many UFO’s do I have tucked away?  STOP – Nevermind…. let’s not go there… I don’t need 12 design boards for each UFO…. Breathe one quilt at a time.  Pace yourself!   I still think I’ll make 12 of each size though… hehe.

Join our Everyone Can Quilt Facebook Group and invite all of your friends.  All our quilty friends are posting pictures of their progress so join in with lots of women from around the world.  You also personally motivate ME too!

Don’t miss out on a single Live Instructional Video, Instructions, Prizes, Freebies and MORE so subscribe to Stitches Quilting and follow Stitches Quilting – Deanna Wall on Facebook, YouTube, Instagram and Pinterest so you don’t miss out on a live video or instruction.  There is just so much quilty FUN planned and we don’t want you to MISS out! 

WARNING THOUGH – our live videos are not about pure instruction we have a lot of fun connecting, answering questions and keeping in touch.  (I think some people would like it to be instructional BUT I do care about all of YOU).  It’s all about community in a kind place.  The more followers I have the better freebies and giveaways I can get from awesome companies!

How to Follow Your Favorite Facebook pages groups

Follow Stitches Quilting on You Tube for Live Quilting Instructional Videos and lots of Quilty FUN

Follow Stitches Quilting on You Tube for Live Quilting Instructional Videos and lots of Quilty FUN

Quilt Block Design Board Hack Tutorial FREE Download

I won’t keep you any longer… because I think Your Sewing Machine is calling you!

Be sure to subscribe to Stitches Quilting newsletter so you don’t miss out on any awesome tutorials or quilty fun!  Please comment below what you think and don’t forget to download your FREE instruction guide and printable to save when you need it!  Let me know if you have questions too!

PS:  Join us in our sew alongs with Stitch Happens Sewing Machine Quilt, Farmhouse Window Quilt Tribute to Nancy Zieman and Jelly Roll Rug!  Ohhh… tooo much FUN!  Next I’ll be doing a spring quilting series on how to make Collage Quilts…. gasp.. oh my!

Deanna Wall Stitches Quilting Stitching Through LifeSlow and Steady Fabric Tula Pink Deanna Wall Stitches QuiltingStitches Quilting Online Neighborhood Quilt Store & Blog

Posted on 1 Comment

Onpoint Square Layer Cake Quilt Tutorial Free Pattern

On Point 10 Inch Layer Cake Quilt Complete Tutorial Gingham Girls Fabric Amy Smart Quilt designed by Stitches Quilting Deanna Wall

On Point Square Layer Cake Quilt

Selecting you fabric for your On Point Square Layer Cake Quilt.

You will need a Gingham Girls 10 inch square Layer Cake and 2 – Solid White Fabric 10 inch square Layer Cakes to make this 68 x 95 inch twin size quilt.

On Point 10 Inch Layer Cake Quilt Fabric Needs Gingham Girls Amy Smart by Stitches Quilting
On Point Layer Cake Quilt needs the Gingham Girls Quilt Kit in either the 10 inch Layer Cake size or 5 inch charm pack size.

Buy Now at Stitches Quilting

On Point 5 inch Square Charm Pack Quilt Kit
On Point 10 inch Layer Cake or 5 inch Square Charm Pack Quilt Kit for Gingham Girls Fabric Collection by Amy Smart in Stock at Stitches Quilting

Cut Your 10 inch Layer Cake to the Correct Size of Triangles Needed for On Point 10 Inch Layer Cake Quilt Pattern
Cut Your 10 inch Layer Cake to the Correct Size of Triangles Needed for On Point 10 Inch Layer Cake Quilt Pattern.  Save those 2 inch strips that you cut from your layer cake to use in your next quilt.

Stitch the Top and Bottom Triangle on the Square. Then sew the Left and Right Triangle on the Square.

How to sew together an square to be on point with triangles. First sew the top and bottom triangles to the square block of fabric.

How to sew together an square to be on point with triangles. First sew the left C and right D triangles to the square block of fabric.

Square Up Your Onpoint Square Quilt Block with a 1/4 inch seam tutorial
Square Up Your Onpoint Square Quilt Block with a 1/4 inch seam.

How to modify the Twin Size On Point 10 inch Layer Cake Square Quilt to a Baby Size using 5 inch charm packs.

Using a precut quilt but not using precut fabrics use this guide to cut your fabrics.

Build your quilt by sewing your quilt rows together one by one and matching your quarter inch seam.

Sew your rows together to build your quilt top into one piece matching your block points.

Add a border to your quilt top with these step by step instructions.

Buy Now at Stitches Quilting

On Point 5 inch Square Charm Pack Quilt Kit
On Point 10 inch Layer Cake or  5 inch Square Charm Pack Quilt Kit

If you have any questions, please ask below.  I’m creating this quilt with complete tutorial online Live with Facebook, YouTube and Instagram.  You can turn on following and live post notifications on each platform so you don’t miss out.  Be sure to follow Stitches Quilting Deanna Wall online because we just love to cheer you on and YOU motivate us to keep creating too!   Can’t wait to see what you create!  Please post pictures online and tag Stitches Quilting!

Deanna Wall Stitches Quilting Stitching Through LifeDeanna Wall Stitches QuiltingStitches Quilting Online Neighborhood Quilt Store & Blog

Posted on

Easy Sew Simple Infinity Scarf Tutorial

Finish the center seam by rolling the edge and stitching down.

Easy Sew Simple Infinity Scarf Tutorial

It is simple to sew yourself a trendy simple infinity scarf from your favorite fabric.  Cut your fabric 14 inches wide and WOF  (width of fabric – how wide your fabric is from selvage to selvage).  If your fabric has a print or line cut along the pattern as shown below.

Trim Your fabric for your scarf 14 inches wide and the width of fabric

Press the length of the scarf on either side one turn.

Press your fabric with a double turned hem

Press again for a double turned finished hem to stitch closed.

Press your fabric with a double turned hem

Stitch the double pressed hem closed on both long sides of the scarf.

Stitch the doubled folded pressed hem along the outside edges of the infinity scarf.

Back stitch at the end of your ends.

After you have stitched both sides of the scarf, fold so you are now stitching closed the selvage ends of the scarf.  Use a 1 inch seam allowance.

Sew together the two ends of the fabric to form an infinity scarf

Press open the center seam and fold over to prepare a finished look.

Press open the center sewing seam

There is no need to double roll this hem as you are working with the selvage with this piece of fabric.  If you are not working with the selvage, double roll your seam to give it a finished look.

Finish the center seam by rolling the edge and stitching down.

Enjoy your scarf!  I will upload a video for you to see the finished product!  Or visit my social media to see me trying on all three scarves that I made with this pattern!  Let me know other ideas that you might have with this scarf.  We could piece fabric together to make it have a patchwork look.  We could use strips of fabric pieces together even using raw unfinished edges.  If you have any questions, please comment below!

This is a nice quick project to get your sewjo back in full swing.  If you make a scarf please tag me on social media so I can see it!  Instagram and Facebook @stitchesquilting!

Lots of Love!

Deanna Wall Stitches Quilting Stitching Through Life

Posted on

Sewing Tutorial Zoe Zombie Doll and Bones Immortal Dog

Zoe Zombie and Bones

Do you happen to pick up just fantastic fabric panels from time to time but somehow don’t seem to get them done?  Sometimes I am disappointed with the end result that doesn’t look quite like I had imagined!  I have to say that this Zoe Zombie Doll and Bones her Immortal Dog did not disappoint me!  What do you think?

Zoe and Bones Good

The trick for me on this panel was that before I even cut the panel apart I long armed the pieces giving each one structure and form with the 80/20 Warm and Natural Batting and muslin backing.  The tutorial for How to Quilt a Fabric Panel and particularly the ideas to accentuate Zoe and Bones.   I have lots of thoughts, pictures and actual video of the tutorial for Zombie Apocalypse Fabric Panel by Emily Taylor for Riley Blake Designs.  If you are interested in purchasing this fabric panel it come free when you purchase a Zombie Love Fat Quarter Kit by Emily Taylor Designs for Riley Blake Fabric

I have to tell you that my family and I really enjoyed making Zoe and Bones come to life for our Fall Festivities!

Zoe the Zombie Doll body part pieces that you will need.

Zoe Zombie Doll Arms Legs Blog1600 Zoe Zombie Doll Body Blog1600

Bones the Immortal Dog body pieces that you will need.

Bones Zombie Body Blog1600Bones Zombie Ears Belly Blog 1600

Additional Supplies Needed:  a NEW Demin Jean Needle for your sewing machine, Gray Thread and Stuffing

Let’s Get Started to Bring to Life Zoe the Zombie Doll:

  1.  Cut out the quilted body part pieces for Zoe.  For the arms and legs, I left about a 1/4 inch seam allowance around them but with the Zoe Front and Back Body pieces I cut them along the outer edge of the doll.  Be sure to mark where the location of the arms are on the doll front and back pieces.
  2. The arms and legs are constructed in a tubular manner.  Fold one arm piece in half with right sides together and sew around the arm starting at point A and ending at point B.  Turn inside out and stuff until firm.  Repeat with the second arm.  Set aside arms.Zoe Zombie Arm
  3. Fold one of Zoe’s legs in half with right sides together.  Sew around the leg, leaving the straight edge open.  Turn inside out, stuff until firm.  Repeat with other leg.
  4. Use a fat knitting needle or other blunt object to push the seams of the arms and legs all the way out after turning them inside out.Zoe Zombie Doll wm
  5. I did not close the openings of the arms or legs and did not allow the stuffing to poof out where I was going to attach the arms and legs to the body of Zoe.  We already have a lot of layers to sew through with the batting and fabric.  You can see in the picture that I have positioned Zoe’s Arms and stitched them to her body.Zoe Arm pinned and stitched
  6. Now attach the legs to the body bottom.  (Refer to photo)Zoe Legs Stitched On
  7. Match up the front and back body pieces of Zoe the Zombie Doll.  It is important to notice that you want to make sure that her hair, neck, dress white stripe are matched up on the body as those will be noticeable pieces to not have accurately matched when turned inside out – see photos and video for additional help on this.
  8. First stitch her head together first matching her collar and hair on each side.Zoe Front and Back Step 3
  9. Leave the legs hanging out with the arms tucked in, stitch the front and back of the Zoe the Zombie bodies together Leaving the bottom of her dress open to turn her inside out.Zoe Front and Back Step 2
  10. Stuff Zoe the Zombie doll firm and hand stitch her dress bottom completely closed.Zoe Stitched Together
  11. There she is!  Embellish her with some of your own home elements or leave her just exactly as she is!  Sweet isn’t she?


Let’s Get Started to Bring to Life Bone’s the Immortal Zombie Dog:

  1.  Cut out all of Bone’s Quilted body part pieces of the left body side, right body side, underbelly, front ear piece and back ear pieces.Bones Ears
  2. Sew together Bone’s front and back left and right ear pieces.  The back side is polka dotted and the right side is black.  Turn the ears inside out and finger press the quilted ears.  No stuffing is needed as they have great structure to them.
  3. Fold the underbelly of Bones along the dotted line.  Pin the underbelly to match “E” and “F” side of the left quilted body then stitch together.  Next pin the underbelly to match along with the “D” and “C” sides of the right quilted body finish stitching the underbelly to the right side of the quilted body.  Bone’s is starting to take shape eh?Bones Underbelly
  4. Line up the ears on the left side of the Bones body and stitch into place.
  5. If needed, trim some of the batting from the ear seam when you are attaching them to the body to have less fabric to sew through.  I decided to offset the ears when stitching the top of the body together so my sewing machine needle would smoothly go across all layers.  (See photo)Bones Underbelly collar matched
  6. It is important to make sure the Bone’s green collar is matching under Bone’s chin and the back of his neck.  These would be obvious places that one would notice if his body was not stitched together right.Bones CollarBones Underbelly collar grn matched
  7. Start stitching the top part of Bone’s right and left side of the body together starting at Bone’s neck to ensure the matching of his green color and then leaving open a 2 to 3 inch space at the back of his body below his tail.Bones all Stitched
  8. Turn Bone’s body inside out from the opening.  Use a long blunt knitting needle or object to ensure that all seams are pushed all the way out.
  9. Stuff Bone’s the Immortal Zombie Dog and hand stitch his opening completely closed
  10. There he is!  Embellish Bones with some of your home element or leave him just exactly as he is!  Darling isn’t he?Zoe and Bones GoodZoe Zombie and Bones


I would just love if you emailed me a photo of own created versions of Zoe and Bone’s!  I would love to see how they turned out.  If you get stumped anywhere do not hesitate to email me!

What extra ideas do you have to embellish Zoe or Bones and share your ideas or tips to construct them.  Post your photos and #ZoeZombieBonesDog so all can search them and see your fantastic ideas!  YEA!  It sure feels great to share!